
I never thought a small corner of my backyard could become everyone’s favorite gathering spot. Then one day, as the sun dropped below the clouds and fed us with light, I saw: we had made a wonderful thing together.
We didn’t start with a plan. Just a desire to make our outdoor space feel more like “us.” If you’ve ever looked at Pinterest-perfect patios and thought, “I wish I had that,” I’ve been there. This post is not about ideas that never get past the planning stage — it’s about what was successful.
You’ll discover how to design, construct and decorate a backyard bar that matches your space, budget and way of life. No fluff. It’s been a mix of some errors and lots of successes.

There’s More to an Outdoor Bar Than Being a Trend
Things began with a cooler and a table I could fold up. For a birthday BBQ, I put it together and saw how everyone was drawn to that area. Drinks, laughter and eating snacks together — that was the best part of the party.
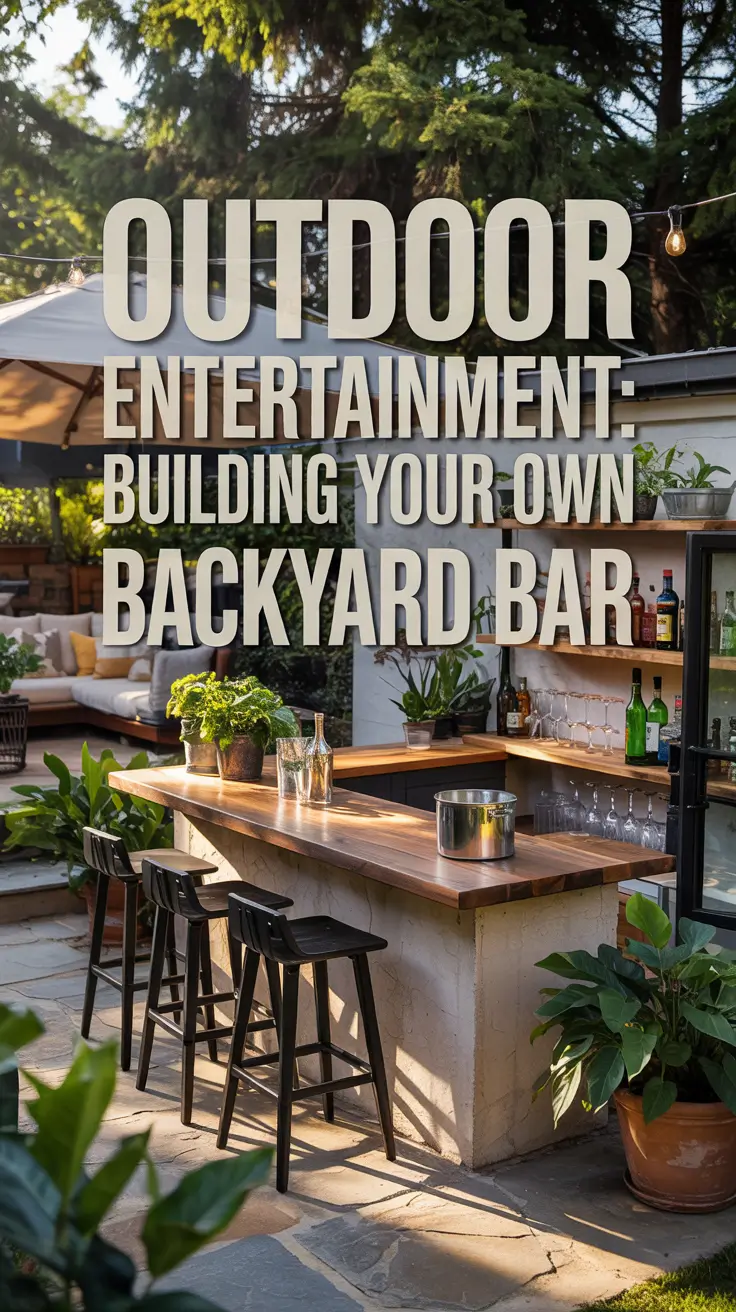
That’s when I realized: a bar area outside isn’t only about practicality. It shapes the vibe. It says, “this is a space to slow down, connect, and enjoy.”
What an outdoor bar adds:
- A natural gathering spot that anchors the yard
- A reason to host (even spontaneously!)
- A sense of completion to your outdoor living area
Drinking cocktails or sparkling water doesn’t influence the bar experience which is all about being welcoming and creating a good mood.
3 Steps That Made It All Happen
The part I didn’t expect was that building the bar was the easy part. Deciding what we wanted from it was.
1. Choosing the right location
We started by watching where we naturally hung out. The shady side of the yard? Too far from the kitchen. The sunny deck? Too hot by noon. Finally, we discovered a nice spot against the back fence, near power and covered by greenery.
2. Defining what we needed
Our list was simple:
- A place to serve drinks
- Storage for glasses and supplies
- Counter space for snacks
We didn’t need plumbing. Yet, we wanted it to look like it belonged there, not just as something we’d move out later.
3. Building the base
We used reclaimed pallets (thank you, neighbor’s garage!) and sealed wood for the top. I used a basic YouTube tutorial for an L-shaped bar, but made it work in our space. It wasn’t Pinterest-perfect. But it was ours.
Material Mistakes I Won’t Make Again
If someone had told me, I wouldn’t have bought the cheap plywood for the front paneling. After one rainstorm, it warped like a waving flag.
So let’s talk materials that last and look good.
What to look for when choosing materials:
- Weather resistance — pressure-treated or marine-grade wood
- UV protection — composite decking or stained hardwood
- It’s easy to clean because there are no holes where liquids can get trapped
Aesthetic matters too. If your home is modern, opt for sleek slats. Love rustic? Go reclaimed.
Pro tip: Add a clear outdoor sealant, even if materials are labeled “weatherproof.”

The Decor Details That Changed Everything
That’s when the bar shifted from useful to truly memorable. Small changes created a whole vibe.
Lighting
Having string lights above made it seem like we were on holiday. We put in solar lanterns and a motion sensor light next to the shelf.
Texture
We put horizontal bamboo screen rolls around the base of the bar. It made the space feel like a beach resort at little cost.
Accessories
I printed a custom wood sign with our “bar name” (cheesy? yes. fun? absolutely.) and added a metal bottle opener right into the frame.
Table: Backyard Bar Costs Compared
| Element | Budget DIY | Mid-Range Store-Bought | Premium Custom Build |
|---|---|---|---|
| Frame | Pallets ($0) | Modular wood unit ($250) | Custom carpentry ($800+) |
| Countertop | Sealed pine ($60) | Laminate ($150) | Granite/stone ($500+) |
| Storage | Crates ($20) | Cabinet kit ($180) | Built-in shelving ($400+) |
| Lighting | Solar lights ($30) | Wired pendants ($120) | Designer fixtures ($300+) |
We built ours for under $400. There are no regrets — it’s solid, it works and it looks like we do.
What I Got Right (And What I’d Do Differently)
This is where it all shifted. I discovered what really helped after using the bar for a while and I wish I’d made those changes sooner.
What worked:
- Open shelves instead of drawers (easier access during parties)
- Hooks inside for towels, bottle openers, and citronella candles
- Grippy countertop (sealed wood, not slippery tile)
What I’d rethink:
- I wish I had designed a small pergola or shade structure.
- I would’ve built a dedicated trash slot
- I underestimated how much counter space we’d use
Still, these are small tweaks. The foundation is solid.
Hosting With It Is Pure Joy
Let me show you how that worked out. We hosted a summer movie night. Popcorn bar, string lights, folding chairs. The snack and drink hub was moved to the backyard bar. Kids grabbed lemonade; adults mingled with sangria.
Suddenly, everything felt easier. I wasn’t running in and out of the kitchen. Everything was where it should be.
It’s not just a bar. It’s an experience center. A memory maker.
Final Thoughts
Building a backyard bar isn’t about perfection. It’s focused on making a place that encourages people to be together and connect in real ways.
Do you think you would do something similar in your own home?
Save this if you’re dreaming of outdoor evenings that feel like vacation at home.
What one small change helped transform your backyard? I’d love to hear.
