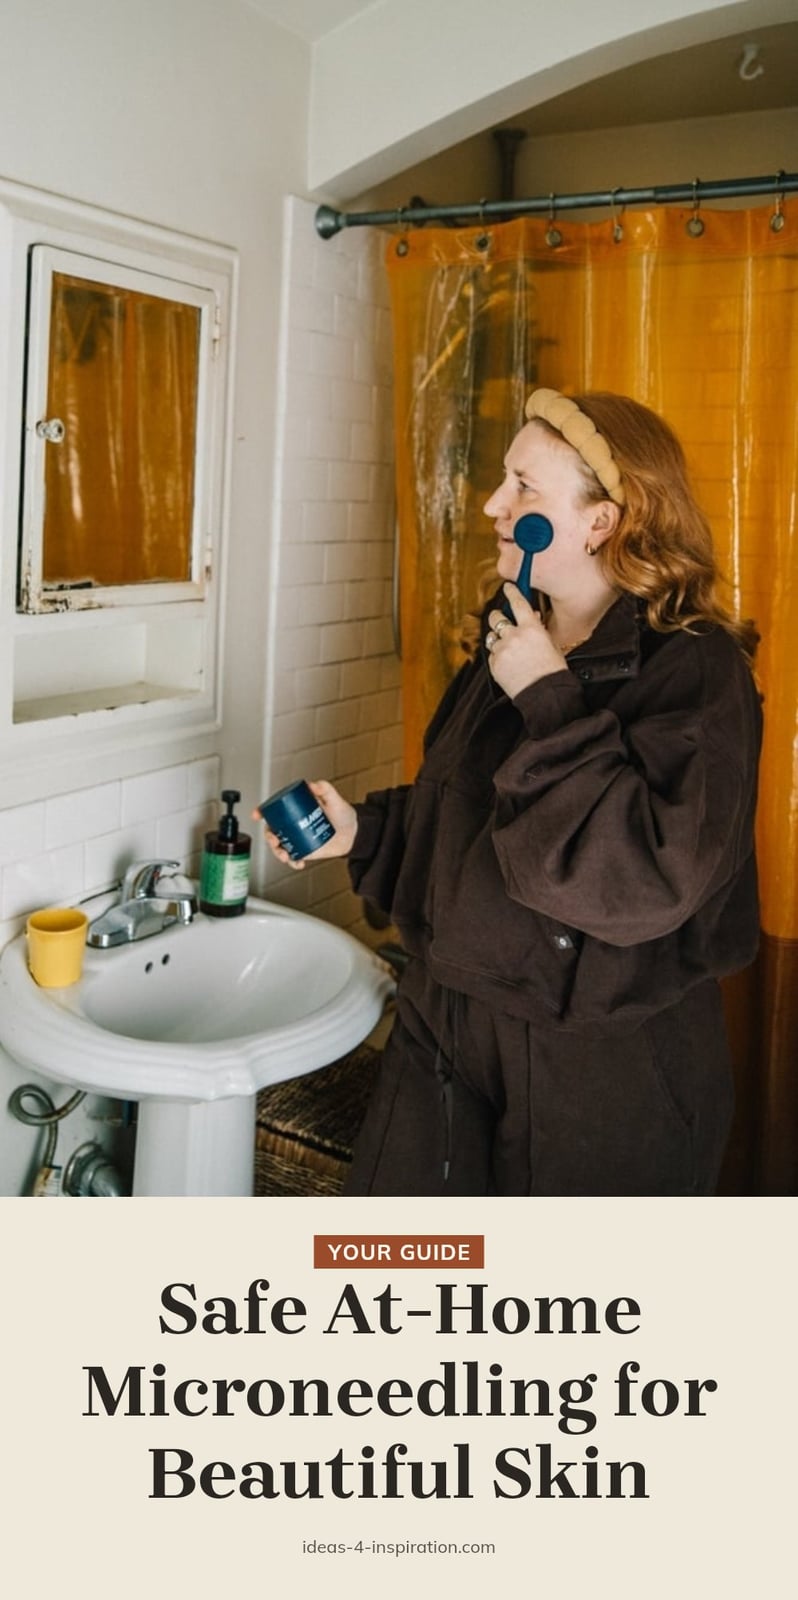
You want smoother texture, softer fine lines, or better absorption from your skincare, and you’re wondering if at-home microneedling can help. The short answer: yes, with the right needle size and a careful routine. This guide covers how it works, which needle lengths are safe for home use, the step-by-step process, and aftercare so you can decide if it’s right for you.
Key Takeaways
- Stick to needles between 0.2mm and 0.5mm for at-home use; longer needles are for professionals only.
- Use 0.2mm to 0.25mm needles daily or every other day for product absorption and mild exfoliation.
- Use 0.5mm needles every 2 to 4 weeks for fine lines, mild scarring, and hyperpigmentation.
- Sterilize your device with 70% or higher isopropyl alcohol before and after every use.
- Replace your device after 10 to 15 uses, or sooner if needles look dull or bent.
What is At-Home Microneedling and How Does It Work?
At-home microneedling uses devices with tiny needles to create microscopic channels in the skin, which triggers the skin’s natural wound healing process and stimulates collagen and elastin production. These channels also enhance the absorption of topical skincare products. Many people find it can improve skin texture, soften fine lines, and diminish hyperpigmentation over time. Needle size matters: home devices typically range from 0.2mm to 0.5mm, and staying within that range is crucial for safety and effectiveness. Larger needles increase the risk of infection, scarring, and improper technique, so leave those to professionals.
Essential Tools for Safe At-Home Microneedling
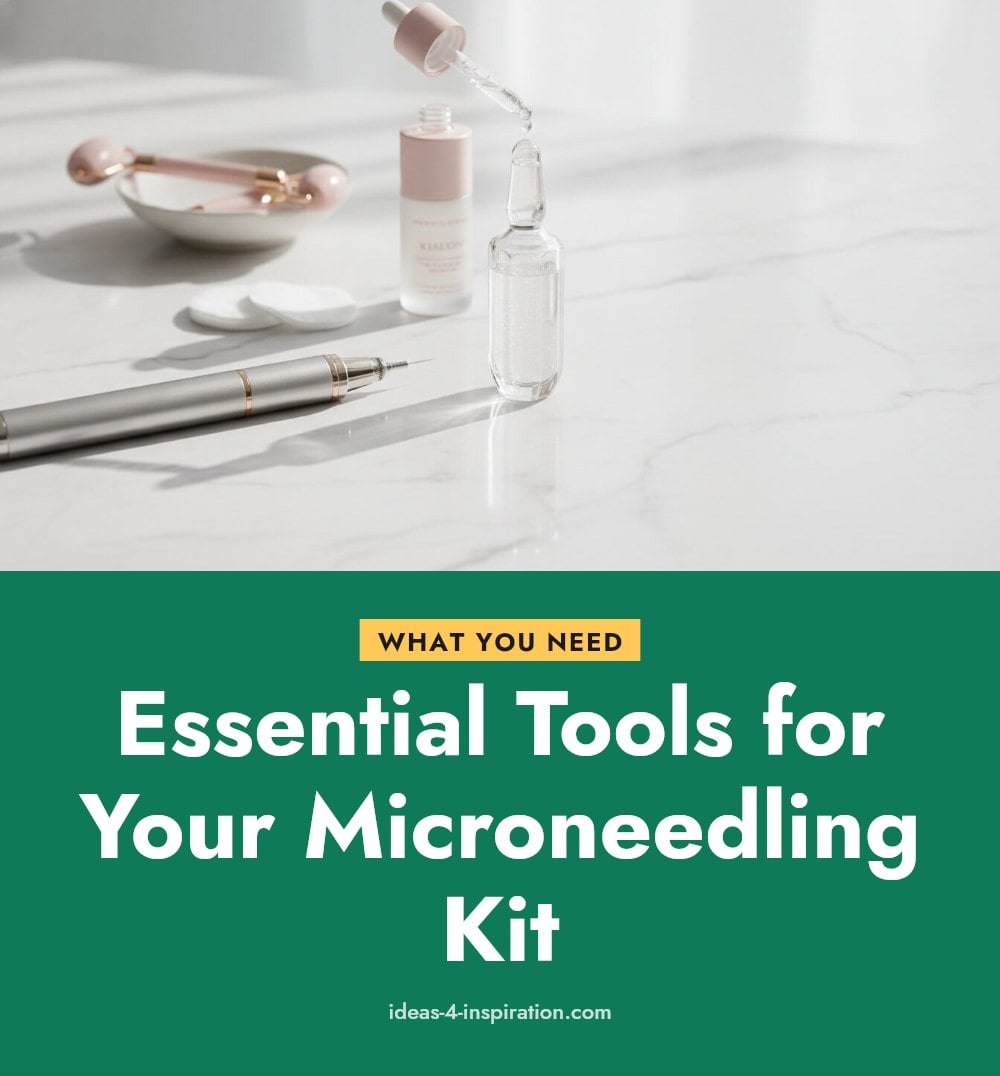
Before you start, gather these items so you’re not scrambling mid-treatment:
- Microneedling device: a derma-roller or stamping pen with needles between 0.2mm and 0.5mm. This size range is designed for home use and minimizes risk.
- Isopropyl alcohol (70% or higher): for sterilizing the device before and after each use. Skipping this step can lead to infection.
- Gentle facial cleanser: to remove makeup, oil, and impurities before needling.
- Hydrating serum: look for hyaluronic acid or a peptide serum to apply immediately after treatment. It helps calm skin and boosts absorption.
- Broad-spectrum sunscreen: daily use is non-negotiable, especially after microneedling, because your skin becomes more sensitive to UV rays.
Sterilization is the most important part of this list. A clean device is the difference between a safe treatment and a skin infection.
Your Step-by-Step Guide to At-Home Microneedling
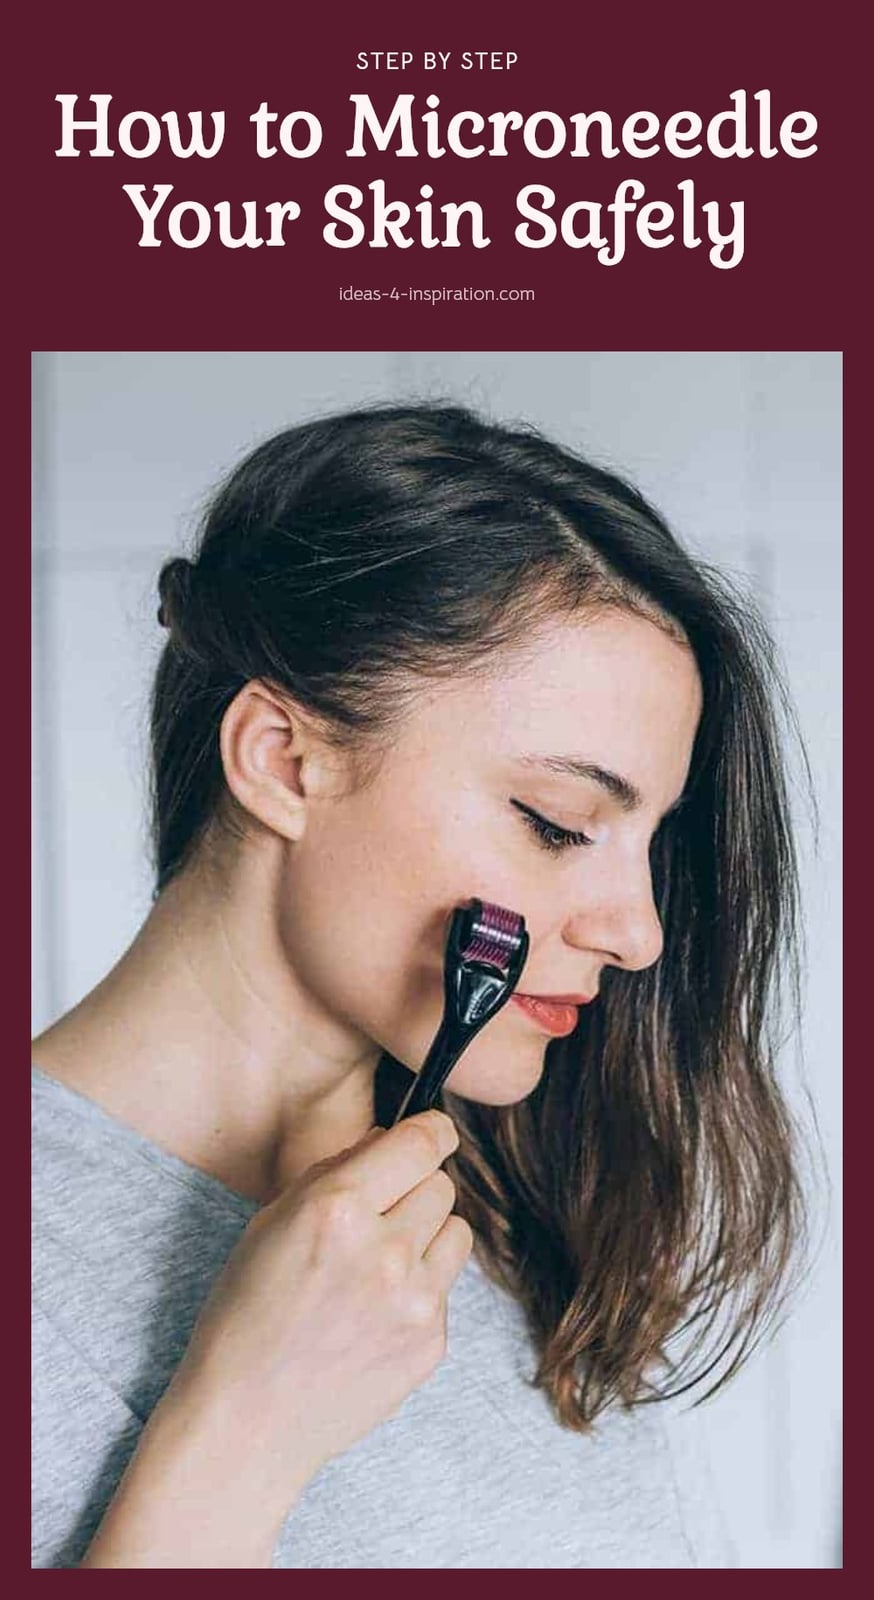
Follow these steps in order for a safe session.
- Sterilize your device: wipe the needle head and handle with isopropyl alcohol (70% or higher) before and after every use. Let it air-dry completely. This kills bacteria and prevents infection.
- Cleanse your face: use a gentle cleanser to remove makeup, oil, and impurities. Pat dry with a clean towel. Your skin should be clean and dry before you start.
- Roll in multiple directions: work on small sections, rolling vertically, horizontally, and diagonally. Use light pressure. Let the needles do the work. Pressing hard can cause scratches and irritation. Avoid the eye area and lips.
- Apply a hydrating serum: immediately after needling, smooth on a hyaluronic acid or peptide serum. The microchannels boost absorption, so this step feeds your skin and reduces sensitivity.
- Protect your skin: apply broad-spectrum sunscreen daily, especially after treatment. Your skin is more vulnerable to UV damage, which can undo the benefits.
My tip: set a timer for each section so you don’t over-roll one area. Overdoing it is a common cause of irritation.
Choosing the Right Microneedle Size for Your Skin Concerns
Needle length determines what you can safely treat at home and how often you can use the device. Use this table as a guide.
| Needle Size | Best For | Frequency |
|---|---|---|
| 0.2mm to 0.25mm | Daily product absorption, mild exfoliation | Daily or every other day |
| 0.5mm | Fine lines, mild scarring, hyperpigmentation | Every 2 to 4 weeks |
| Longer than 0.5mm | Not recommended for home use | Do not use at home |
Sticking to 0.5mm or shorter is the safest choice for home use. Needles longer than that increase the risk of infection, scarring, and improper technique, so they should only be used by a professional.
Common Microneedling Mistakes to Avoid
Most problems with at-home microneedling come down to a handful of avoidable errors, and each one undercuts either safety or results.
- Going too long: Needles beyond 0.5mm belong in professional hands. At home, longer needles reach deeper layers you cannot see or control, which raises the risk of damage and infection.
- Skipping sterilization: A device that touches skin without an alcohol wipe can push bacteria into the channels it creates. Wipe the needle head before and after every session.
- Pressing hard: Pressure does not equal results. Heavy rolling causes scratches and irritation, so let the needles do the work with light, even passes.
- Keeping a worn device: Dull or bent needles drag and tear the skin instead of gliding through it. Replace the device after roughly 10 to 15 uses.
- Working over compromised skin: Active breakouts, wounds, or irritated patches get worse, not better, under a roller.
Post-Microneedling Care for Optimal Results and Healing

What you do in the hours after a session shapes how much you get out of it.
- Hydrate right away: Apply a soothing serum with hyaluronic acid or peptides immediately, while the channels are open, to boost absorption and calm sensitivity.
- Pause the actives: Skip retinoids and strong acids for at least 24 to 48 hours. On freshly needled skin they can sting and irritate.
- Protect from UV: Your skin is more sensitive to sunlight afterward, so wear broad-spectrum sunscreen daily, not just on treatment days.
- Leave redness alone: Keep skin clean and moisturized, and do not pick or scratch at temporary redness or flaking.
- Space out sessions: Let skin heal between treatments, and give longer needle sizes more recovery time than short ones.
When to Consult a Professional or Stop At-Home Microneedling
Some situations call for a dermatologist rather than a home device.
- Stop the session: Excessive pain, bleeding, or severe irritation means you stop immediately and let the skin settle.
- Check first: If you have an underlying skin condition or take certain medications, talk to a dermatologist before your first session.
- Keloid history: Do not microneedle if you have a history of keloid scarring, since needling can trigger it.
- Signs of infection: Pus, spreading redness, or fever after treatment needs medical attention, not another session.
- Irritated skin: Avoid active acne, open wounds, eczema, psoriasis, and any inflamed patches until they clear.
Frequently Asked Questions
How long does it take to see results from at-home microneedling?
Visible results typically appear after several weeks to months of consistent use. Because at-home devices use shorter needles, the changes are gradual and subtle. Stick with your recommended frequency and take photos every few weeks so you can track progress objectively.
Can I use microneedling for active acne?
No. Microneedling should not be performed on active acne, open wounds, or irritated skin. Rolling over active breakouts can spread bacteria and worsen inflammation. Wait until your skin is clear and calm before microneedling, and consult a dermatologist if you have persistent acne.
What type of serum should I use after microneedling?
Apply a hydrating serum with hyaluronic acid or peptides immediately after microneedling. These ingredients are gentle and support hydration while the channels are open. Avoid harsh actives like retinoids or strong acids right after a session unless they are specifically formulated for post-needling use.
Is at-home microneedling as effective as professional treatments?
No, at-home microneedling is not as effective as professional treatments. Professional devices use longer needles that reach deeper layers of the skin, leading to more dramatic results. At-home devices are designed for safety and can improve texture and product absorption, but expect more subtle changes that take longer to appear.
How often should I replace my microneedling device?
Replace your microneedling device after 10 to 15 uses, or sooner if the needles look dull or bent. Dull needles can drag or tear the skin, increasing the risk of irritation and infection. Keep track of your sessions so you know when it’s time for a new device.
Final Thoughts
My tip: start with a 0.2mm to 0.25mm needle and use it every other day for a few weeks before deciding if you want to move up to 0.5mm. That gives your skin time to adjust and lets you see how it responds. Expect subtle changes, not a dramatic transformation. Most people notice smoother texture and better product absorption after several weeks to a few months of consistent use. If you have active acne, eczema, or a history of keloid scarring, talk to a dermatologist first. Done carefully, at-home microneedling can be a simple addition to your routine.
This article is for general information only and is not medical advice. At-home microneedling carries risks, especially if you have underlying skin conditions. Consult a dermatologist before starting, and seek professional care for persistent or serious skin issues.